Step 2: Add MrT Modules
Once you have installed mrtutils, adding modules is very simple. just run mrt-config and tell it where you want to put the modules (It will create the directory)
cd /path/to/mrt-tutorial
mrt-config MrT
This will open the mrt-config gui:
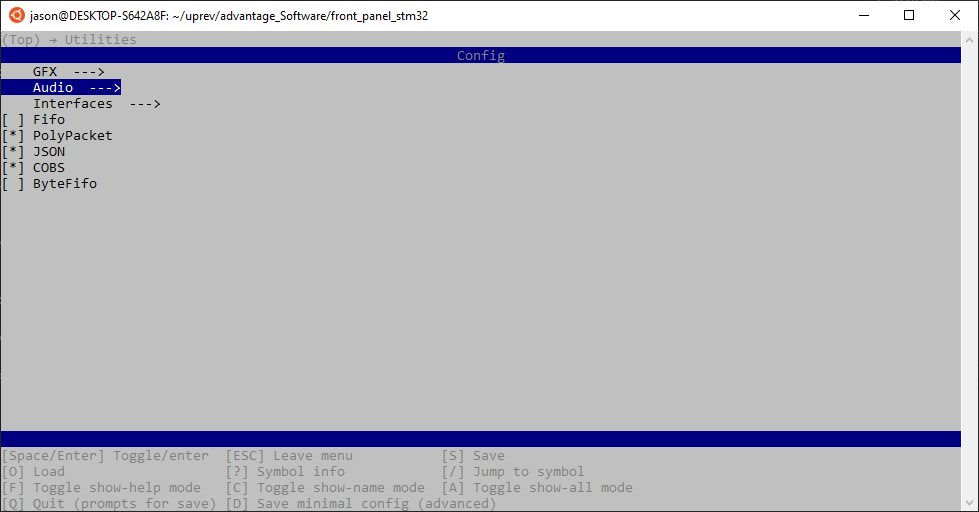
This tool will open a menuconfig style UI that lets you browse the available modules and select the ones you want to include
For Now select the following modules:
- Platforms/STM32:
this is the absctraction layer for STM32 MCUs. it provides definitions/Macros to map hardware interaction with the STM32 HAL
- Platforms/Common:
this module is required when using any platform abstraction layer
- Devices/RegDevice:
This is the base module for generic register based devices. It is needed later in [Creating Device Driver using mrt-device tool](#mrt-device)
Once you have selected the required modules, press q to quite, then y when prompted to save changes
You should now have a folder called ‘MrT’ in your projects directory with the submodules inside of it.
Now you need to configure the project to use these submodules. Each platform module should have instructions in its README.
Here are the instructions from STM32/README.md :
Note
after importing modules, right click the project and hit refresh so it sees the new directories
To use the STM32 platform, cofigure the following settings:
Project->Properties->C/C++ General->Path and Symbols : * Under the Symbols tab add a symbol named MRT_PLATFORM with the value MRT_STM32_HAL* * Under the Source Location tab click add and select the Modules directory under Mr T* * Under the Includes tab, click add and add the path to the Modules directory under Mr T
Build the project